In this blog series, first we will create a wordpress website in my local system, then deploy a new server with plesk panel and in that plesk panel we will deploy a wordpress website, which will create in my local system.
For development i am keeping domain name http://dev.samplewebsite.loc and for production domain name http://dev.samplewebsite.com.
This blog will have miltipart series
- Create new wordpress website in your local system
- Deploy a new server with plesk control panel
- Setup plesk control panel for wordpress website
- Deploy Wordpress website through plesk panel in vultr VPS
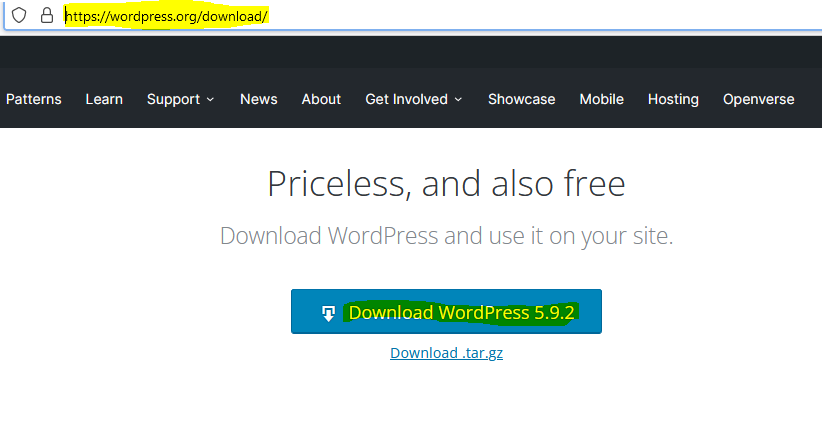
- Install Xampp
If you have not installed xampp, you can follow link below and install:
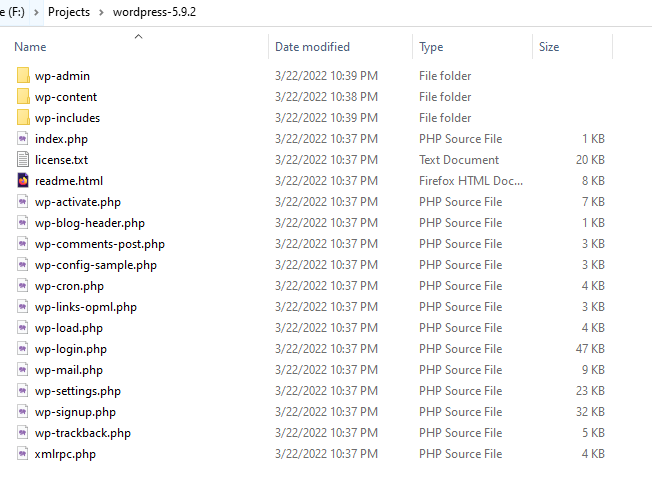
After extract your folder should be look like below:

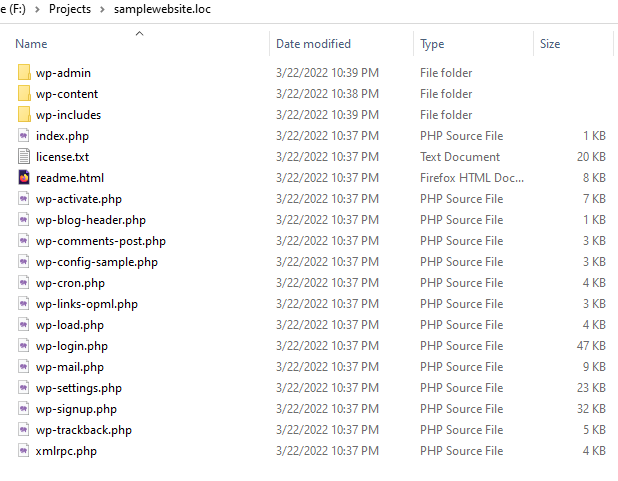
As I already mentioned, my domain/server name will be dev.samplewebsite.loc. You can choose domain/server name according to your choice.
So changing folder name wordpress-5.9.2 to samplewebsite.loc, after changing you can get like below:
Go to the following folder:
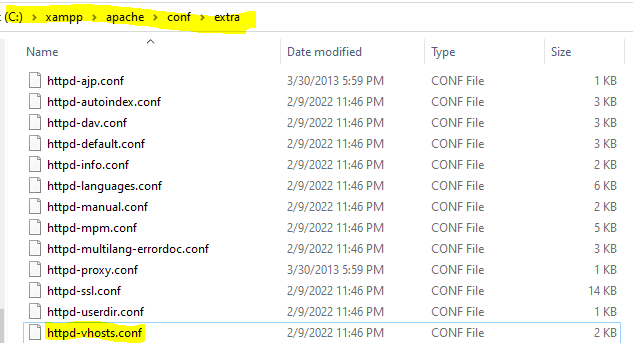
Open httpd-vhosts.conf file and add following lines in the last:
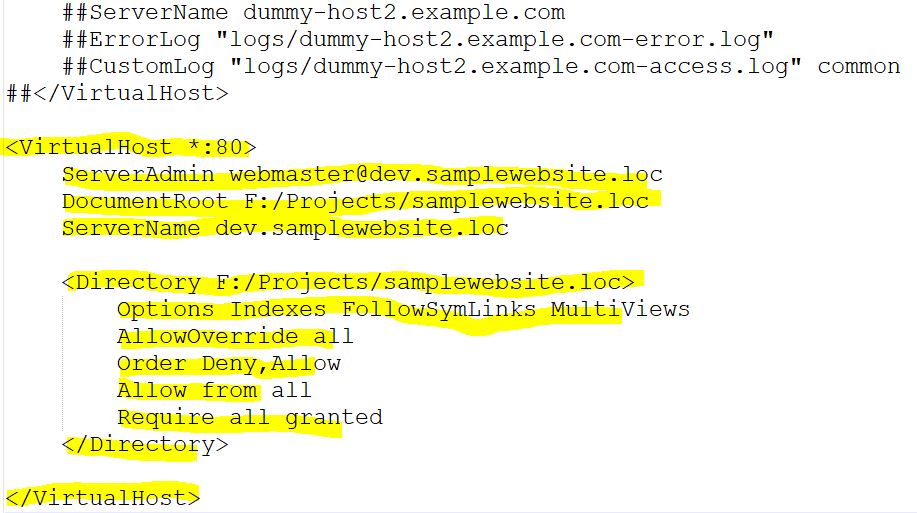
Save and close the file.
Open your xampp and start Apache and MySql.
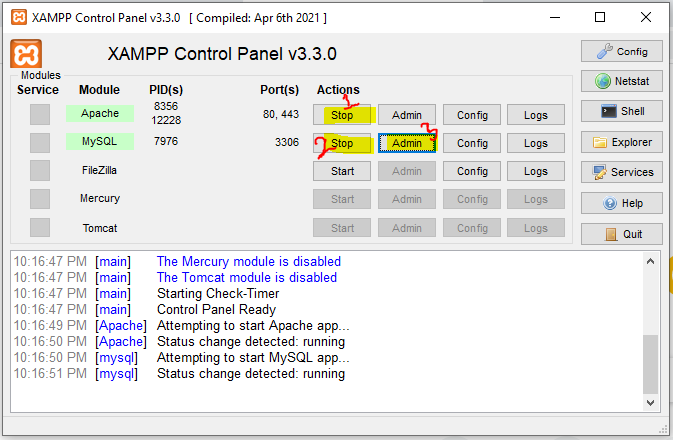
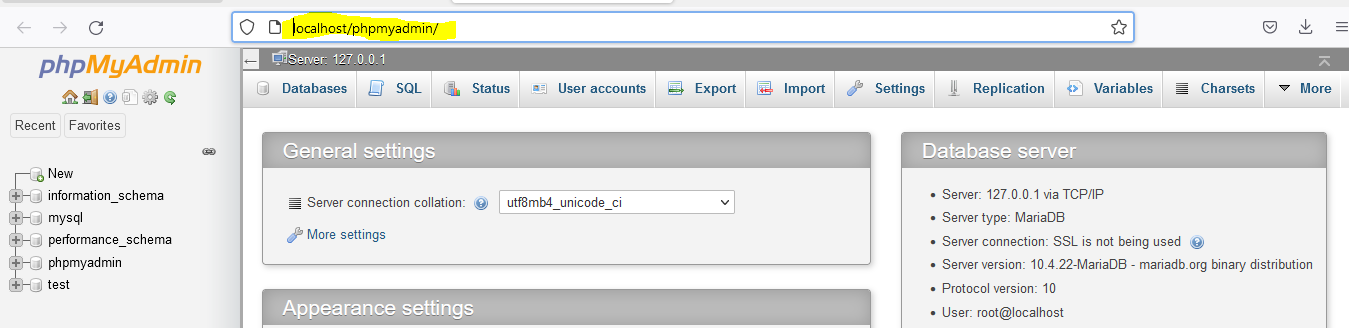
When we click on MySql Admin, it will open this url http://localhost/phpmyadmin/ in browser.
We can see phpmyadmin like below:
Then click on Databases -> Write database name -> Click on Create.
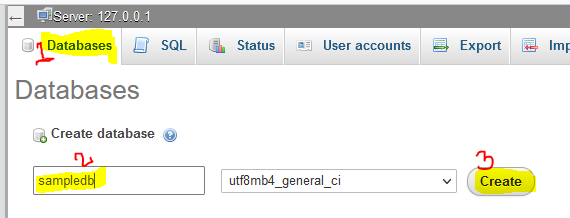
After creating a database, we can database name on the left side.
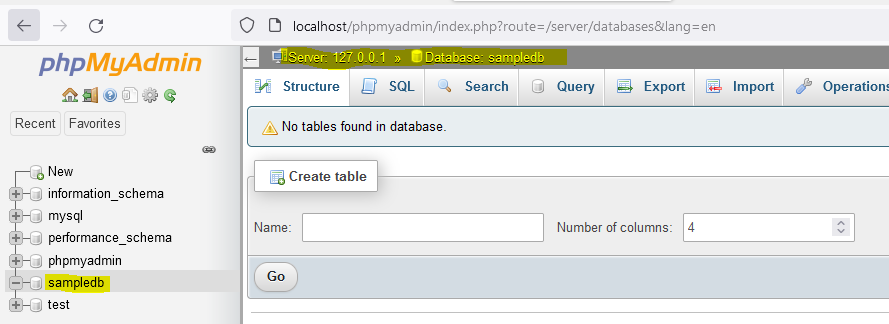
We have created database for wordpress website. Keep a note of database details, we need to write in wordpress configuration file.
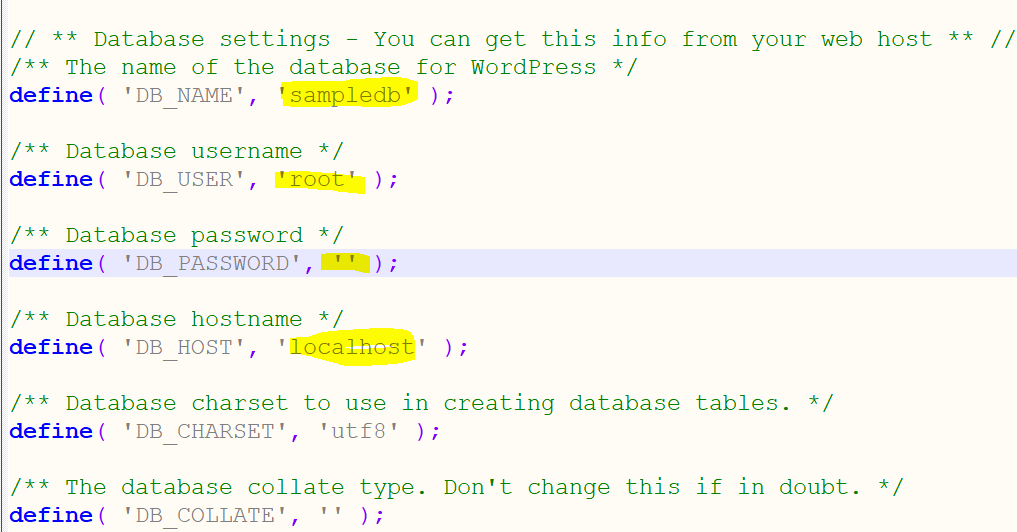
My local database details:
DB name: sampledb
DB user: root
Password:
host: localhostYou can create copy of wp-config-sample.php file or rename wp-config-sample.php to wp-config.php.
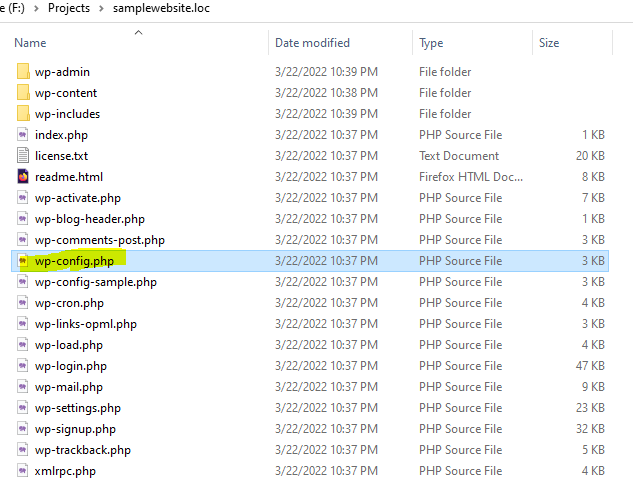
Open the wp-config.php file and write database details etc...
Open command prompt as administrator. Then go to drivers/etc directory and open hosts file. In that make a entry like below:
It will open a hosts file in notepad. Add server name like below and save that file.
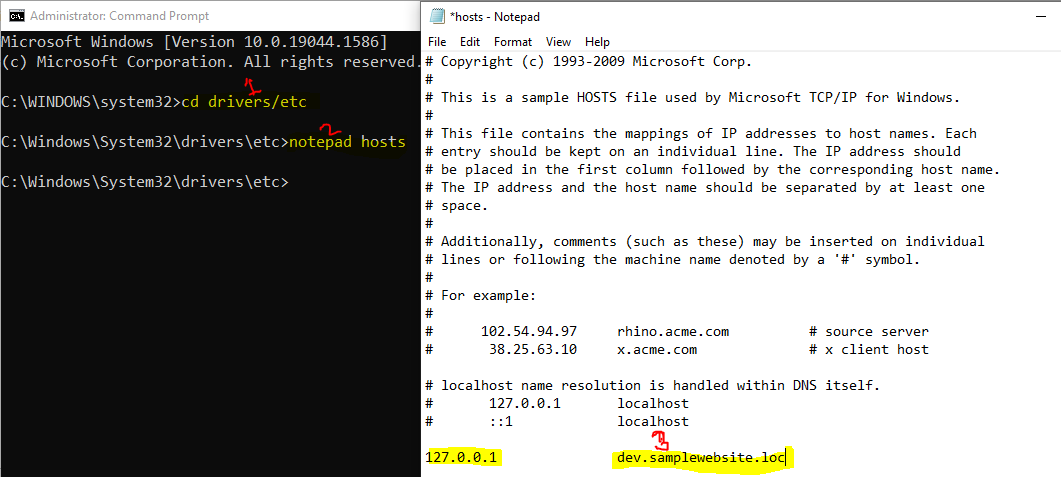
Save and close the hosts file.
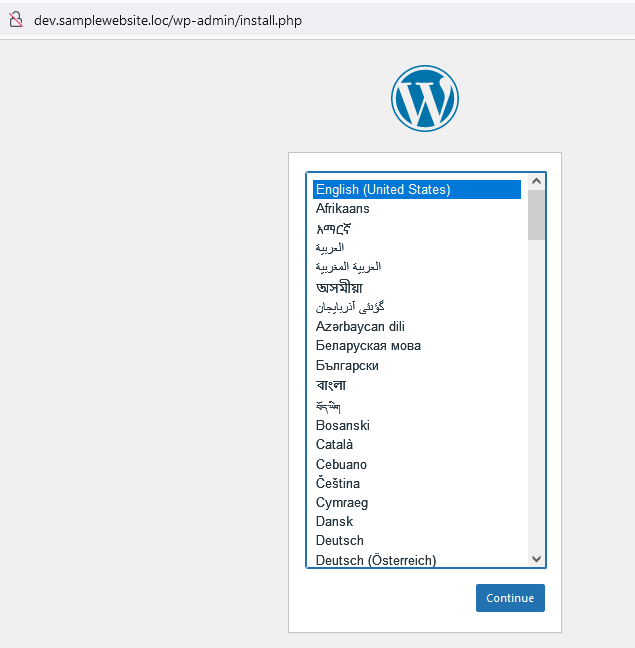
Open this url http://dev.samplewebsite.loc/ in browser:
It will install the wordpress. Default Language is "English (United States)", let it be like that only. Then press "Continue".
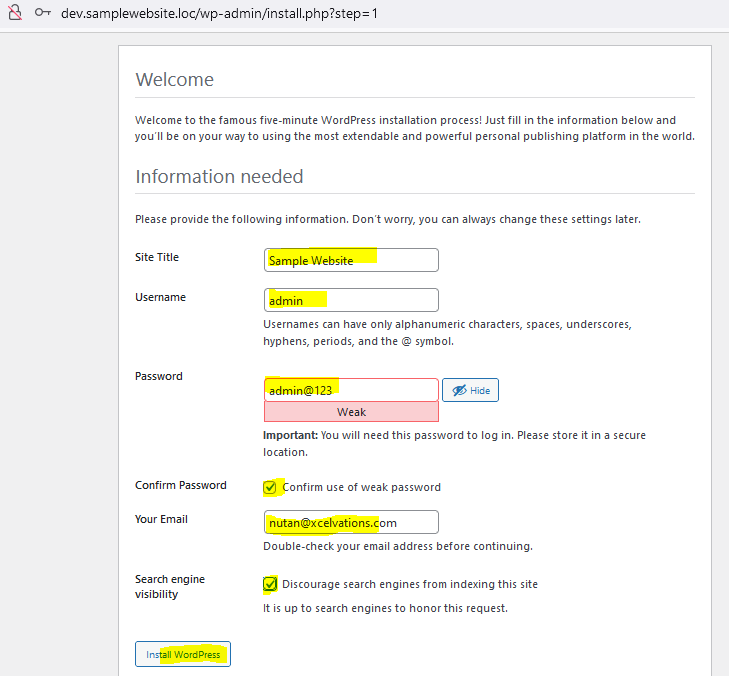
Next screen will show like below. We need to add Site Title, username, password, email etc... then click "Install Wordpress".
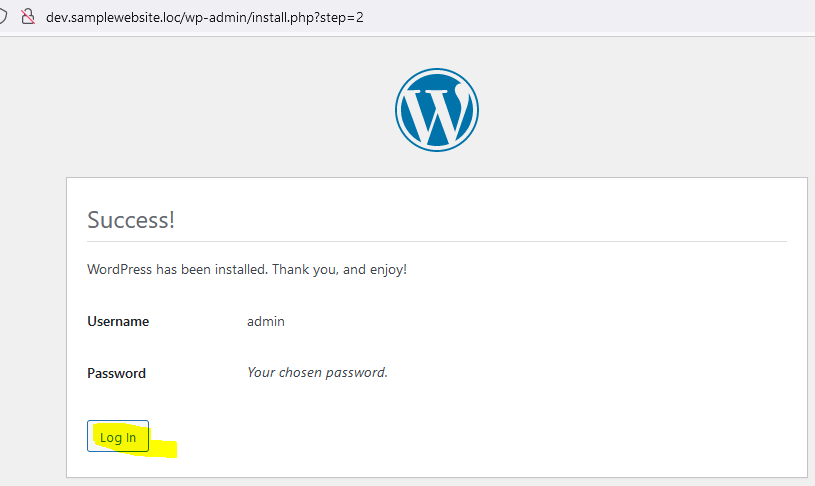
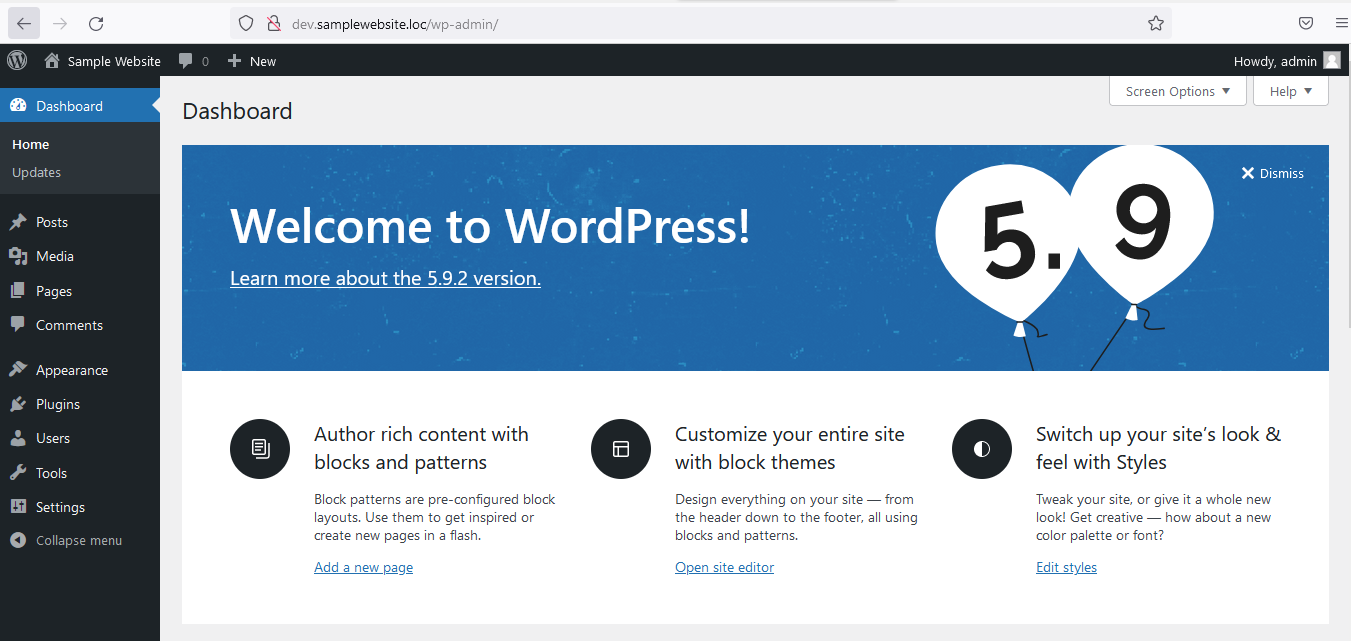
Wordpress installed successfully. Now login to admin dashboard, click on "Log In".
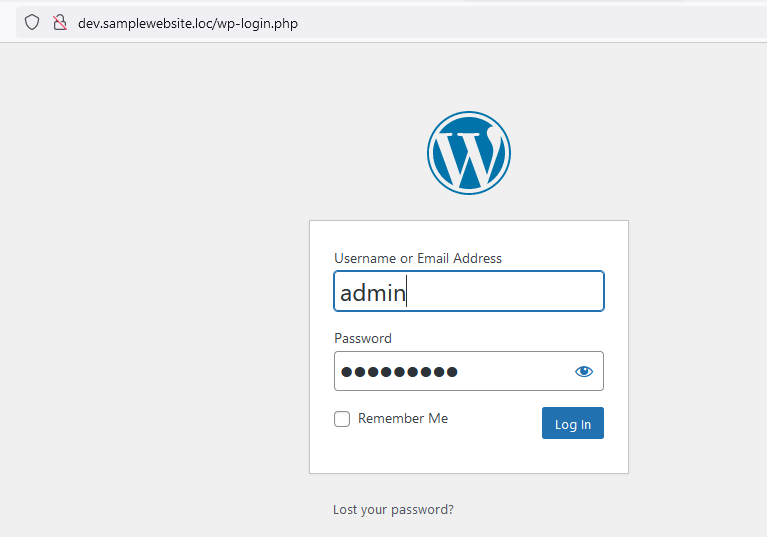
Enter Username and password and click on Log In.
After login, we will see dashboard like below:
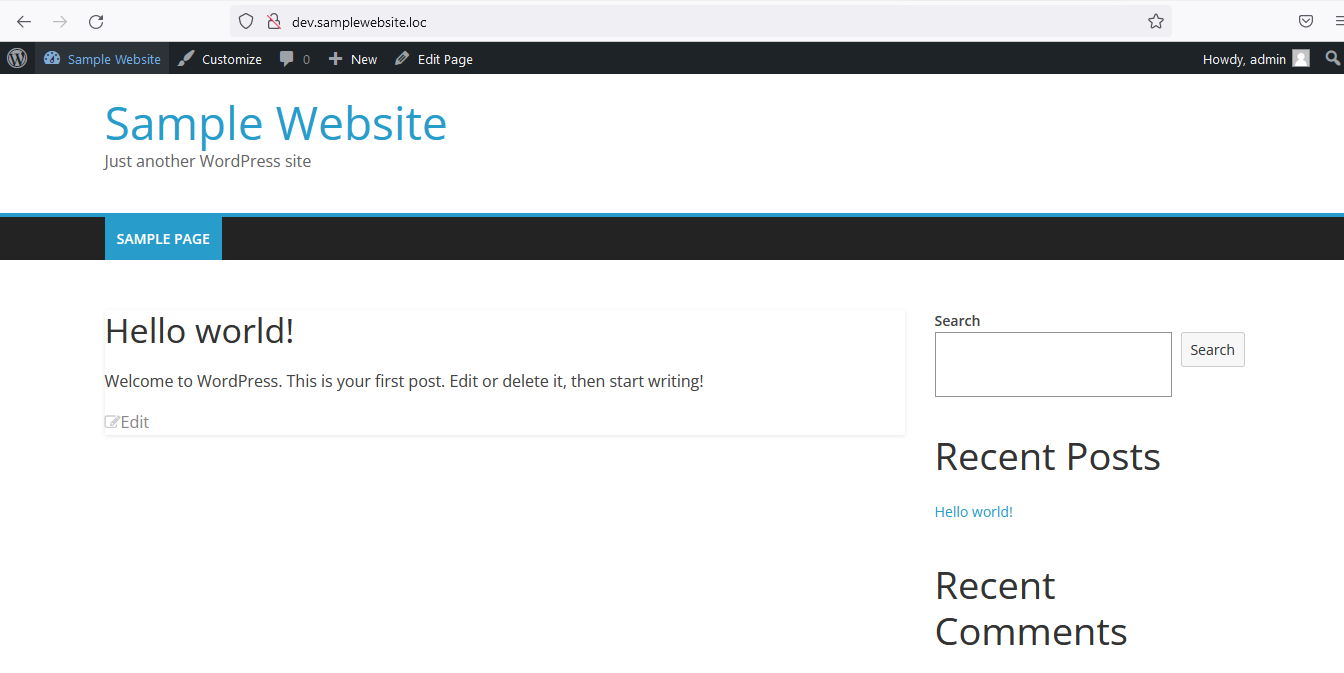
Click on "Visit Site", we can see sample website like below. We don't want to work on theme rightnow. We will just deploy this sample website like this only.
Go to http://localhost/phpmyadmin/ and see database tables.

We have created successfully a wordpress website in local. That's it in this part. In next section, we will deploy new server with plesk panel.